Are you looking into creating a new revenue stream that won’t cost you too much to get started and is easy to set up? Then you should create your own Shopify website.
With a Shopify website you can sell your own stuff online, be it physical goods or digital products.
What’s more, with a Shopify website you can sell products even if you don’t have inventory, using dropshipping.
We’re not kidding when we say that this is easy to set up, and in this Shopify guide we will show you how to create your own online store quickly, step by step.
In this Shopify tutorial for beginners we will also walk you through some Shopify features that will help you create an attractive online store that will bring you 5 figures a month without much effort.

Ready? To get started, visit “Shopify.com”. There, click on “Pricing” to see the pricing plans.
Shopify is a monthly subscription platform, but as you can see on the pricing table, it is the cheapest ecommerce platform, offering the most features for the best price.
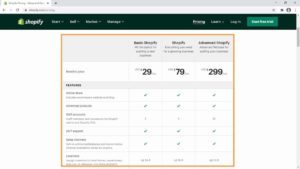
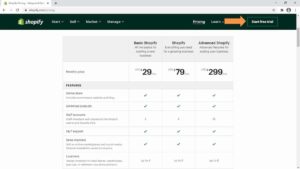
Though you can start with a plan right away, you can sign up for free simply by clicking on “start free trial” and use it for free for 14 days.
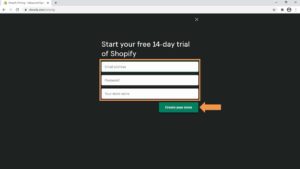
Now you are going to enter your email address, a new password, and your store name. Click on “Create your store” once you enter all this information.
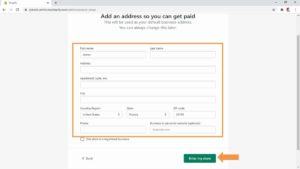
Awesome job, you just created your store! In the following page you simply have to enter your personal information, including your first name, last name, and address so you can get paid from the sales you make. Click on “enter my store” after you enter this information.
You will be redirected to your Shopify dashboard, where you can start getting your Shopify website ready.
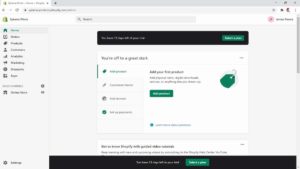
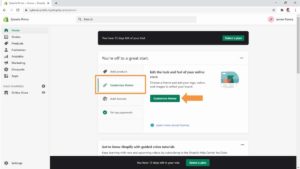
You can start by personalizing the look and feel of your Shopify website by replacing the default Shopify template with a different template. For this, click on the “customize theme” tab, and then on the “customize theme” button.
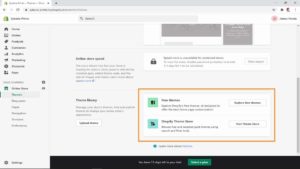
In the following page you are going to scroll to the bottom of the page. There you can pick from “free themes” and “Shopify store themes”. You can find some of the best Shopify website templates here.
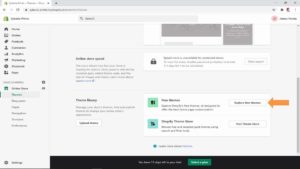
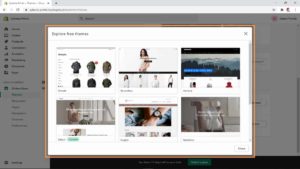
A good starting point is to pick a free theme before you move into paid Shopify website templates. First, click on “explore free themes”.
Next, select a free Shopify theme from this window by clicking on it.
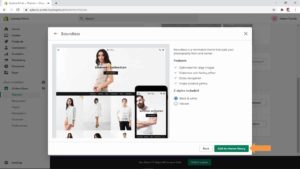
Then, click on the “add to theme library” button.
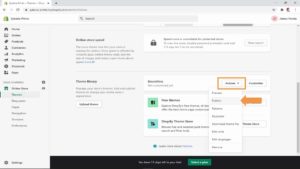
You will find your new Shopify template in the “theme library” section, where you have to click on the “actions” menu button, and then on the “publish” option”.
Next you are going to click on the “publish” button on this window.
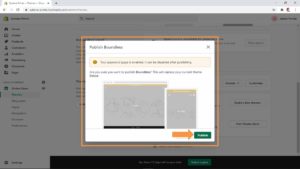
Your new template will appear as the current theme, and you can click on the “customize” button to personalize it.
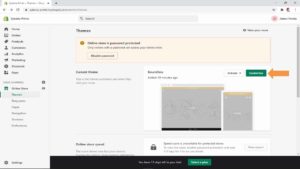
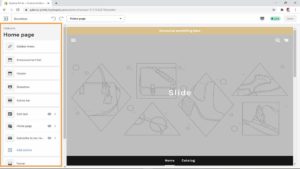
When you open your template editor, you will be able to customize everything from the sidebar menu, the header, and the appearance of the homepage.
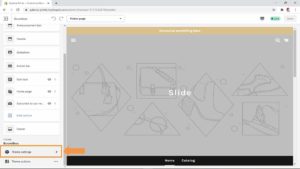
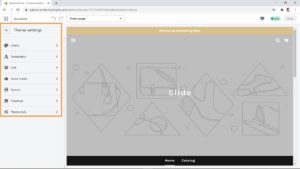
You can customize things like colors, typography, cart, navigation, social media links, site favicon, checkout, and theme style by clicking on “theme settings”.
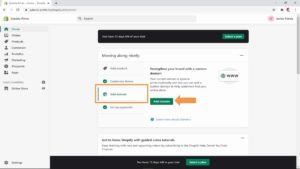
Back on your Shopify dashboard, you can configure your Shopify domain by clicking on the “Add domain” tab and then on the “add domain” button.
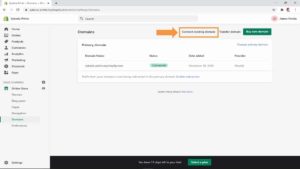
Your primary domain is a Shopify subdomain, and you can replace it with your own Shopify domain here by clicking on “connect existing domain”.
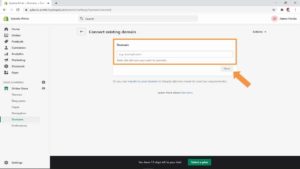
In the following page you are going to enter your domain address into the “domain” field, and then you will click on “Next”.
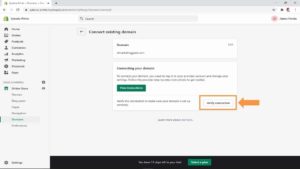
After adding your domain, you will be instructed to log in to your domain provider account to change your settings so your domain redirects to your Shopify website. After you change your settings in your account, make sure to click on “verify connection” and follow the steps to verify that your connection was successful.
If you don’t have a domain, you can purchase your own Shopify domain by clicking on the “buy new domain” button in the domain page.
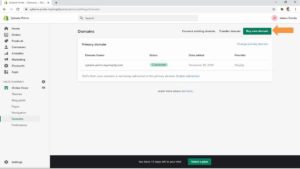
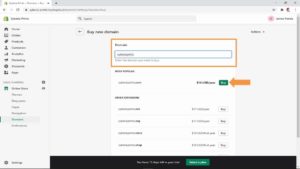
Next, you are going to enter a domain name that you’d like for your Shopify website into the “domain” field to check availability. If available, you will be able to buy it right away.
How to add products to a Shopify Website
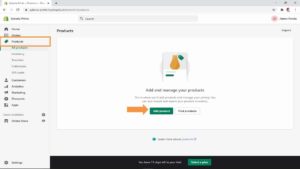
Adding products to your Shopify website is easy. You can start by clicking on the “products” tab in the sidebar menu, and then on the “add product” button.
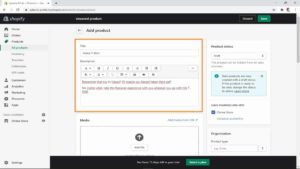
Adding your product information is easy. First, you are going to enter the product “title” and product “description”.
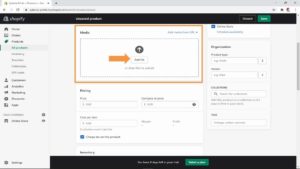
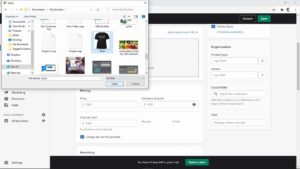
Next, you’re going to click on “add file” to locate and upload your product image.
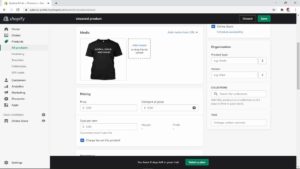
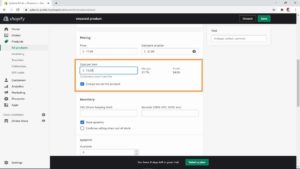
Now you can enter the product price. There are two price fields you can fill. In the “price” field you can add the sale price you want to set to turn your desired profit, and in the “compare at price” you can add a higher amount so your regular price is perceived as a discounted price. This trick will help you drive sales faster because of fear of missing on the offer!
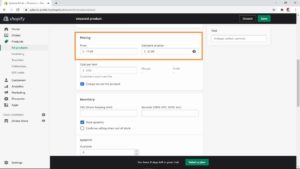
Also, you can calculate your margin and profit by entering the base cost of your product into the “cost per item” field.
Next you are going to add your inventory. Here you simply have to add your SKU, your Barcode number, and your stock quantity into the “Available” field.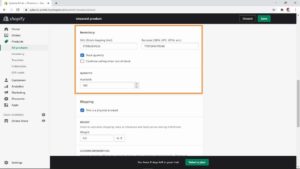
In the shipping section you are going to specify whether you are shipping a physical product by ticking the “this is a physical product” checkbox, or by disabling this option if you’re selling a digital product.
In case you are selling a physical product, enter the weight of the item you are selling to calculate the shipping cost at checkout.
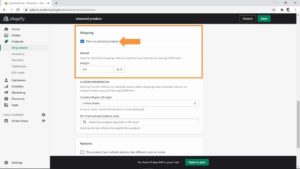
If you’re selling a product with multiple variants such as different sizes, colors, or editions, tick the “this product has multiple options” checkbox.
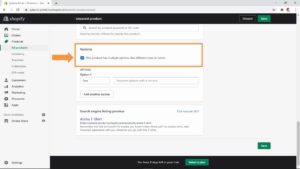
You will be able to select the variant type by clicking on the “option” field and selecting from this menu.
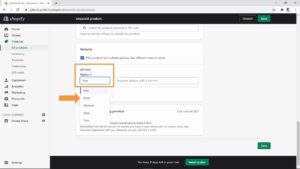
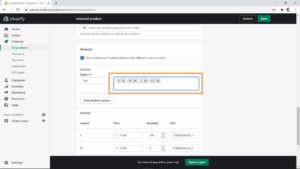
Then you can enter the different variants into the field next.
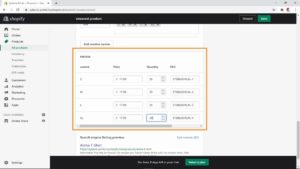
You will be able to edit the price and quantity of each variant you add below.
A very good feature of a Shopify website is the ability to optimize Shopify SEO directly when creating a Shopify product.
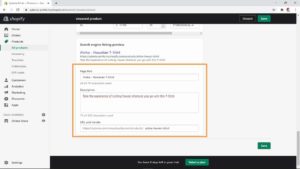
You can see a search engine listing preview at the bottom of this page, and you can click on “edit website SEO” to optimize your Shopify listing SEO.
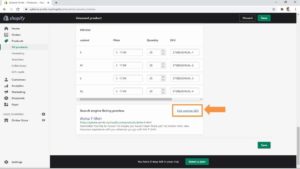
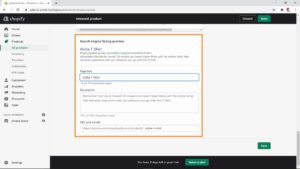
This way you can improve your listing’s SEO and add high-traffic keywords that help you to position your Shopify website on search engine results.
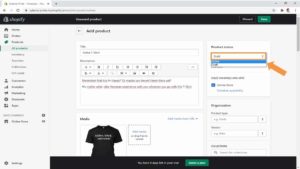
Before you publish your product, make sure to change the product status at the top of the page by clicking on this menu button and selecting “active”.
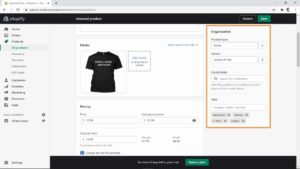
And in the “Organization” column below you can add the “product type”, the name of the product’s vendor, and the product “Tags”.
Once you are ready to publish your product, click on the “save” button.
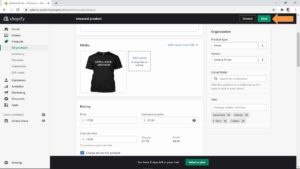
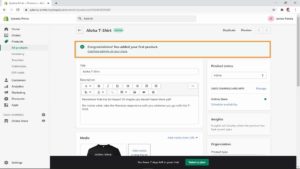
Your product will be published right away!
How to set up Shopify Shipping Profiles
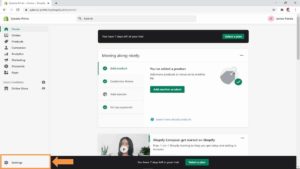
It is important that you set the right methods and costs of shipping your products. Start by clicking on the “settings” tab at the bottom of the sidebar menu.
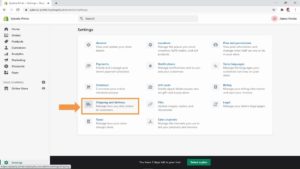
In the following page you are going to click on “Shipping and delivery”.
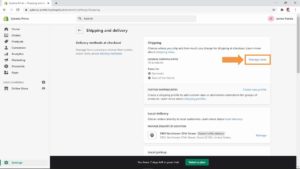
In the shipping and delivery page click on “Manage rates”.
Locate the “shipping from” column in the following page. There, you can change your shipping address by clicking on this “manage” link, in case you’re shipping products from an external fulfillment location and not your registration address.
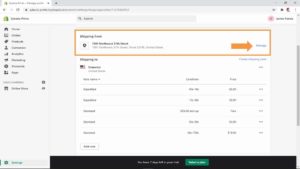
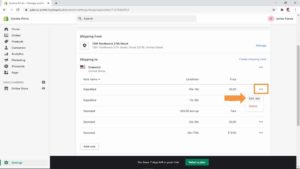
In the “Shipping to” column you can edit rates according to shipping method and weight. To edit a rate, simply click on the three dotted menu button, and then on “edit rate”.
You can set rates based on weight or price.
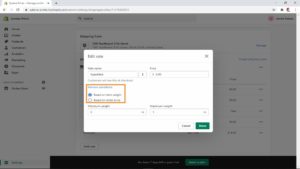
After setting a condition, you can click on the “rate name” field to select a shipping method, and then you can enter the shipping cost in the “price” field.
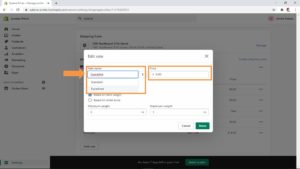
You can click on “done” to save your changes.
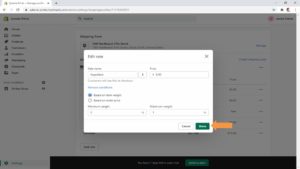
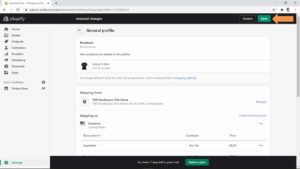
Once you are done configuring your shipping profiles, click on the “save” button on this page.
How to add Shopify Apps to your Shopify Website
You can make your Shopify website better by adding Shopify apps to your store, which you can find by clicking on the “apps” tab in the sidebar menu.
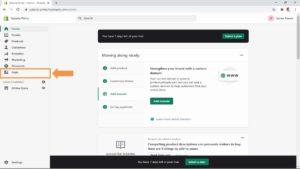
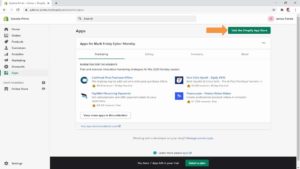
There you will find app recommendations for your Shopify website, but you will find the best Shopify apps for your store by clicking on “Visit the Shopify app store”.
In the Shopify app store you can find and install Shopify apps for dropshipping, for Shopify SEO, for Print on Demand, for inventory, for wholesale, for reviews, for email marketing, for subscriptions, and more.

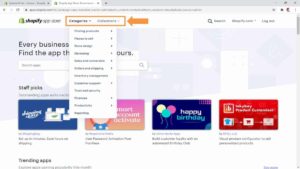
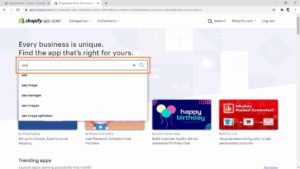
You can browse Shopify apps by using the “categories” and “collections” menus on top, or you can enter a keyword into the search bar to find the Shopify apps that you need for your store.
To install a Shopify app on your Shopify website, simply click on the app icon first.
![]()
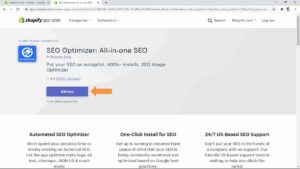
Then, click on the “add app” button.
How to remove powered by Shopify
It is possible to remove the “Powered by Shopify” message that appears in your Shopify website if you want to.
Simply go to your Shopify dashboard, click on “Online store”, and then on “Themes”.
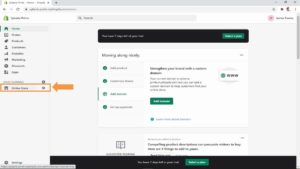
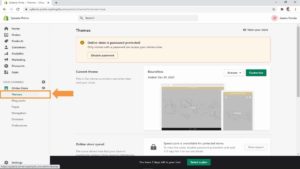
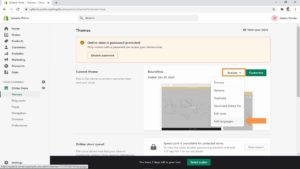
Next, click on the “actions” menu button in the “current theme” section, and then on the “edit languages” option.
In the following page you are going to type “powered” into the “filter translations” field.
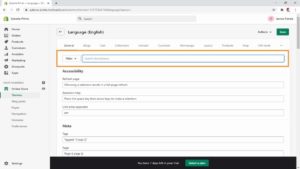
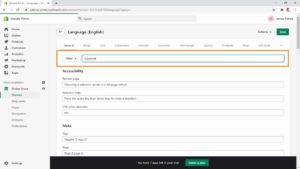
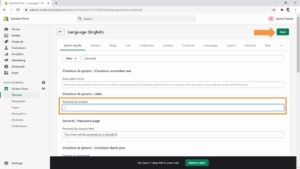
Finally, you simply have to type a single space using the space bar, into the “powered by Shopify” field, and then to click on “save” to finish.
How to change Shopify Store Name
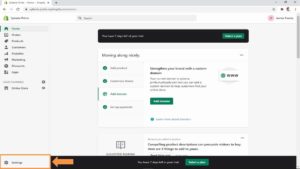
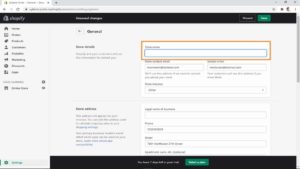
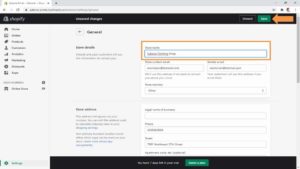
If you want to change your Shopify store name, go to your Shopify dashboard and click on the “settings” tab.
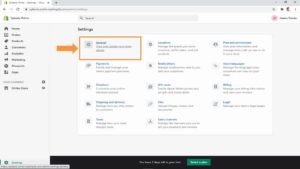
In the following page, click on “general”.
Now simply delete the current name, and type in your new Shopify store name into the “store name” field. Click on “save” to save your new name.
How to pause Shopify Store
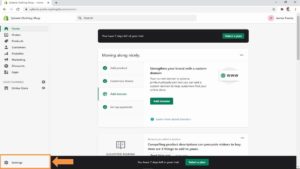
If you need to pause your Shopify store, go to your Shopify dashboard, and click on “settings”.
In the following page, click on “Plan and permissions”.
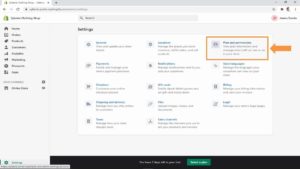
Please note that in order to be eligible to pause your Shopify store, you will need to be on a paid plan and to be at least 60 days past the free trial period. This means that you won’t be able to pause your store when it is new.
Once you meet the criteria, you will find the option to pause your store in the “Store status” section, which is at the bottom of the plan and permissions page.
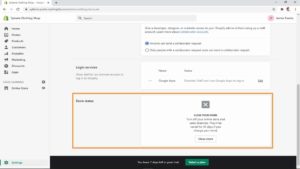
There are two pause plans available to Shopify store owners that meet the criteria:
- The “Pause and Build” plan allows you to pause your store and work on it. To enable this plan, all you have to do is click on the “pause and build” option in the Store Status section, to review the changes to your billing cycle, and to click on “confirm changes”.
- The “Pause” plan allows you to pause your store completely and step away from it for up to 3 months. To enable this plan, all you have to do is click on the “Pause” option in the Store Status section, to agree with the terms and conditions, to leave a message for store visitors to see while your store is paused, and to click on “submit”.
How to cancel Shopify
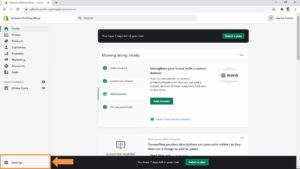
If you want to cancel Shopify and close your Shopify store, go to your Shopify dashboard and click on the “settings” tab.
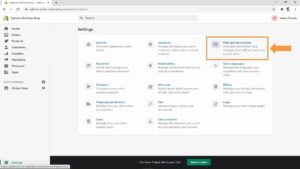
In the following page, click on “Plan and permissions”.
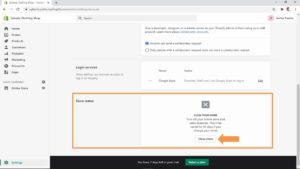
Now move to the “Store status” section and click on “Close store”.
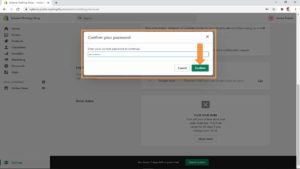
Now enter your password when prompted to and click on “confirm”.
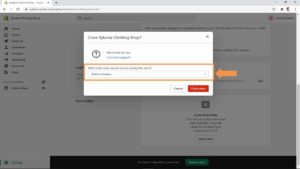
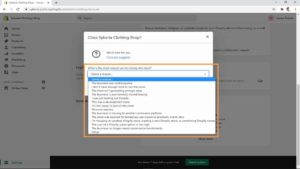
Next, click on the “select a reason” drop-down menu button and select the reason why you are canceling your Shopify store.
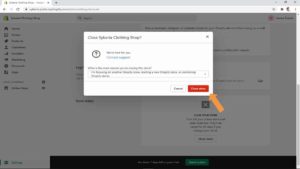
Finally, click on the “Close store” button to finish canceling your Shopify store.
If you want to generate a 5 to 6 figure monthly income on the best ecommerce platform, then follow these steps and create your Shopify website today!
Frequently Asked Questions
What is Shopify?
Shopify is an ecommerce platform that offers you all the tools you need to create your own online store and make money by selling your own products online
How does Shopify work?
Shopify is a cloud-based platform that you can access from your browser. It provides you with an admin panel where you can configure your store, add products, process orders, and more.
How much does Shopify cost?
Shopify is the cheapest ecommerce platform you can find. The Basic plan costs $29 a month, the Shopify plan costs $79 a month, and the Advanced Shopify plan costs $299 a month.
// Creative Service


I have read lots of blog but I just love this post. The way you explained Shopify, its incredible. But sometime I really confused to choose from WooCommerce and Shopify.